










Select a category

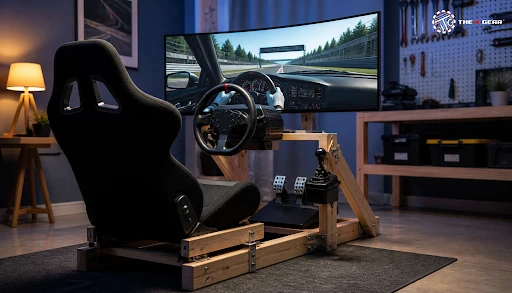
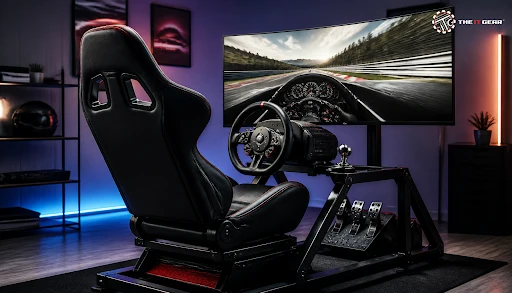
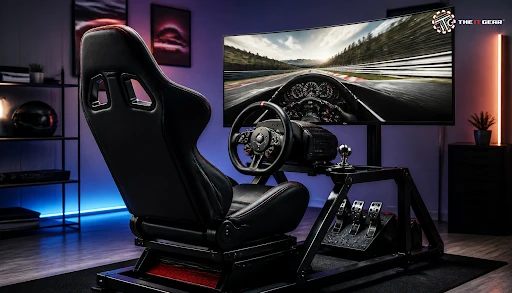
Making a DIY racing simulator cockpit at home is the absolute dream of many Indian gamers, mainly because of the shift in focus toward PC-only and online racing games like Assetto Corsa, iRacing, and F1 24.
Professional racing cockpit setups can cost Rs. 80,000 or more, but with a little planning and some tools you can make your own DIY racing simulator cockpit at a fraction of the cost.
A DIY racing simulator cockpit is a handmade rig that's designed to position your steering wheel, seat, and pedals to resemble their place in an actual race car. If you were to buy an off-the-shelf racing cockpit, you're likely to have to shell out Rs 50,000 or more to get decent quality. With a homemade rig, you get to keep tabs on your budget and make adjustments to how it suits your body.
The great aspect about building your own DIY sim racing rig is that you can do it step by step, beginning with a wooden system and upgrading as and when you can afford it.
Material choice tends to be the most significant choice in your build. Broadly, each material has its own balance of price, stiffness, and the effort needed to make a rig from it.
Which Material Should You Choose for Your Build?
Most Indian beginners would prefer wood as a starting material, as there's plenty of time to change to aluminium. You can find the various sim racing parts available from The IT Gear once your frame is complete.
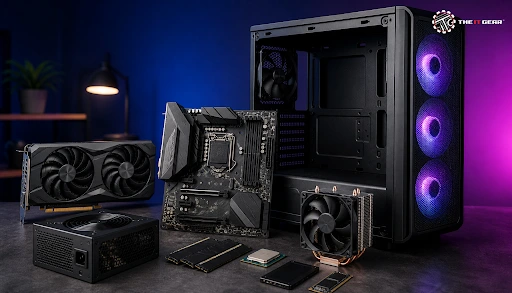
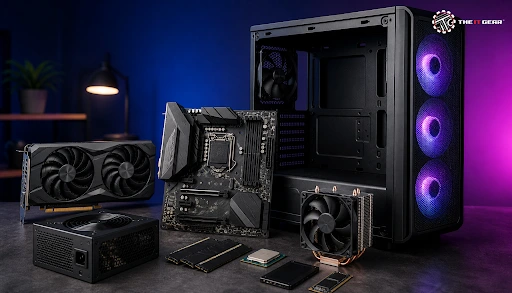
Hardware outside the cockpit is significant too, and the best components and materials are necessary to fully capture the experience. Compatibility of hardware is also a challenge, more so on PC than on a console.
What Components Do You Need?
Accurately getting the sizes right means comfort and good performance. Bad ergonomics can cause fatigue, bad lap times, and injury on long sessions.
How to Plan Your Build with Free DIY Sim Rig Plans
1. Use Design software: Many sim racing builders use SketchUp to prepare their cut list before cutting the wood. Free examples are found on community forums or YouTube pages.
2. Key Measurements: The height of the seat needs to position the eyes at around the top third of the screen. The position of the pedals needs to enable full brake travel without over-extension. The reach to the wheel needs to leave the arms slightly bent at the elbows.
3. Make a Cut List: Before buying all the materials, list what each piece should be. This helps cut down on waste and trips to the supplies.
4. Cable Routing: Route the cables along the frame and use zip ties or 3D printed clips to secure them to the frame.
A clean build is advantageous for overall visuals, but it can also prevent accidental disconnection in the heat of the race.
Constructing your cockpit is a weekend task that is rewarding if you take your time and do a careful job. Hurrying through building your cockpit will often result in structural problems that will be hard to repair.
What Is the Assembly Process?
1. Build the Base Frame: Take the main platform pieces that will form the base. Make sure the base is square and level before moving to the next step.
2. Construct Side Pieces: Vertical uprights are the supports for the wheel deck and seat platform. They must be parallel and stiff.
3. Fit the Seat Platform: Position your seat at the desired height and ensure comfort before fixing permanently.
4. Join the Pedal Platform: Bring the pedal deck to the appropriate angle and distance. Pair it with your actual pedals for a test.
5. Mount the Wheel Deck: Clamp the wheelbase in place and allow for comfortable reach. Set the reach to test comfort, and when satisfied, tighten.
Although the main focus of this guide is racing, plenty of enthusiasts build DIY full motion flight simulators, using actuators and software to add movement with yaw, pitch, and roll. Rigid frame principles can be applied to this kind of build, but the complexity, and so the price, is much higher. Building a static racing cockpit prepares you well for bigger projects. If you want to explore this space, see our flight simulator cockpits.

You also need to make sure you have checked off all the most important and crucial boxes. This is your final access to the ultimate racing gaming cockpit during your build process.
A DIY racing simulator cockpit is a challenging but rewarding project that will leave you grinning ear to ear once you're sitting in the driver's seat. With a bit of planning, some creative thinking, and the right equipment, your DIY build can rival buying a complete commercial solution at a fraction of the price. The IT Gear has produced a range of sim racing components including wheels, pedals, and additional gear to complete your DIY build.
Q1: Where can I find free DIY sim rig plans?
You can find free plans on community forums like Reddit's r/simracing, YouTube, and Instructables. Many builders share SketchUp files and cut lists so that others can use them.
Q2: How much does it cost to build a DIY racing simulator cockpit in India?
An elementary wooden cockpit can be created for Rs 8,000 to Rs 15,000 without considering the wheel, pedals, and seat. Total costs of an aluminium extrusion rig would range from Rs 25,000 to Rs 45,000 for material.
Q3: Is wood or aluminium better for a sim racing cockpit?
Wood is cheaper, easier to work with, and because of this, great for a beginner. Aluminium is more ergonomic, adjustable, and upgradeable, so it is really suited to a more serious sim racer with a better budget.
Q4: Can I use a regular car seat for my sim racing rig?
Yes, a bottom-mount automotive seat from the junkyard is a good and reasonably priced option. Just make sure it is attached properly to your platform.
Q5: What is a DIY button box for sim racing?
A DIY button box is a set of controls made up of buttons and rotary dials that you make yourself. It plugs into your PC and gives you ready access to various in-game controls including brake bias and pit radio.





#No. 9, 5th Floor, Max City Center, T. P Lane, Sadar Patrappa Road, Bengaluru - 560002 (Karnataka)